Your Phone Holds the Key — How to Recover Photos Without a Computer
The ability to recover photos without a computer puts real power directly in your hands
What do you want to do?
No cables, no desktop software, no technical setup required. Most people assume photo recovery demands a laptop and a USB connection. That assumption leaves thousands of recoverable photos sitting untouched on devices people already carry in their pockets.
This guide covers every practical method, tool, and hidden source that lets you recover deleted photos entirely from your phone or tablet — and several approaches that even experienced users overlook.
Why On-Device Recovery Works Better Than You Think
Phones today carry processors more powerful than laptops from five years ago. The hardware capable of running sophisticated games and editing 4K video handles photo recovery scanning without breaking a sweat.
Therefore, the gap between desktop recovery tools and mobile recovery apps narrowed dramatically over the past three years. Modern Android recovery apps scan storage partitions directly from the device itself. Cloud-based recovery requires nothing but a browser. Several methods covered below recover photos in under five minutes without touching a single cable.
Method 1: Check Your Phone’s Built-In Trash Folder First
Before downloading anything, look inside your device’s native trash. Both Android and iOS quietly hold deleted photos for 30 days before permanently purging them.
Android Recently Deleted
Open your Gallery or Photos app. Look for a folder labeled “Trash,” “Recently Deleted,” or “Recycle Bin” depending on your manufacturer. Samsung Gallery, Google Photos, Xiaomi Gallery, and OnePlus Gallery all maintain this folder independently.
Uncommon detail: Samsung devices maintain two separate trash folders — one inside Samsung Gallery and one inside Google Photos if both apps run simultaneously. Many users check one and miss photos sitting in the other. Therefore, check both apps before assuming the photos disappeared.
iPhone Recently Deleted
Open the Photos app, scroll to the bottom of the Albums tab, and tap “Recently Deleted.” Photos live here for 30 days after deletion. Entretanto, if someone else uses your iCloud account on another device, they can delete photos from the Recently Deleted folder remotely — something many users never consider.
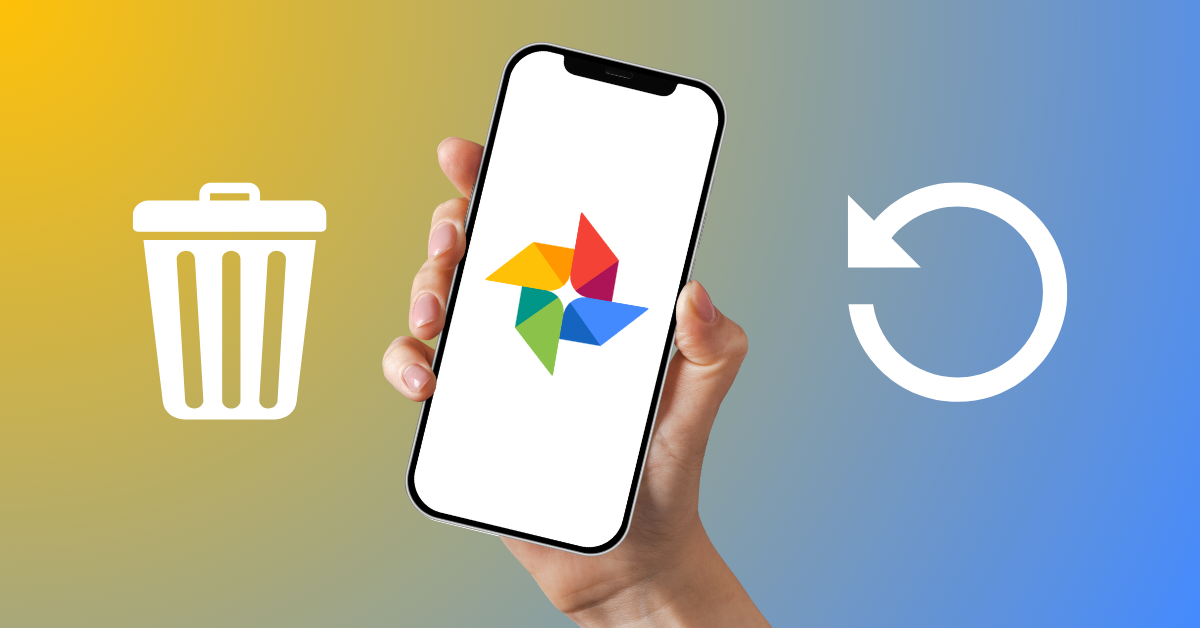
Method 2: Google Photos Trash — The 60-Day Window Most People Miss
Google Photos holds deleted photos for 60 days — double the native phone trash window. Furthermore, Google Photos maintains its trash independently from your phone’s built-in gallery trash. Deleting a photo from your gallery doesn’t always delete it from Google Photos trash simultaneously.
Open Google Photos, tap your profile picture, and select “Manage storage.” From there, navigate to the Trash folder. Alternatively, visit photos.google.com/trash directly in your phone’s browser.
Uncommon detail: Google Photos trash shows photos deleted from any device connected to your Google account — including photos deleted from tablets, old phones, and even the Google Photos web interface. Therefore, photos you deleted on a previous device sometimes appear in the trash of your current phone’s Google Photos app.
Method 3: DiskDigger — Best App to Recover Photos Without a Computer on Android
DiskDigger on Android scans your device’s storage directly without requiring any desktop connection. The free version targets app cache directories and thumbnail databases — finding images your apps cached but never formally saved to your camera roll.
Still, the most powerful feature requires root access. With root enabled, DiskDigger performs a full partition scan that reads every storage sector on your device, recovering photos the file system stopped acknowledging entirely.
Uncommon detail: DiskDigger finds photos from apps you already uninstalled. When you delete an app, its cached media often remains in storage sectors the file system marks as available but hasn’t overwritten yet. DiskDigger’s scan reaches those sectors and pulls images back — photos from apps that no longer exist on your phone.
How to Use DiskDigger Without Root
- Download DiskDigger free from the Google Play Store
- Open the app and tap “Start Basic Photo Scan”
- Select the storage location to scan — internal storage or SD card
- Wait for the scan to complete — typically 5 to 15 minutes
- Preview results and select photos to recover
- Save recovered photos directly to Google Drive or your gallery — never back to the same storage being scanned
Method 4: Dumpster — The Recycle Bin Your Android Never Had
Dumpster works differently from every other method here. Rather than recovering photos after deletion, Dumpster intercepts deletions as they happen and stores copies automatically — functioning as a recycle bin your Android phone never natively offered.
Contudo, Dumpster only protects photos deleted after you install it. It doesn’t recover photos lost before installation. Therefore, installing Dumpster now prevents future losses rather than solving current ones.
Uncommon detail: Dumpster integrates with cloud storage, backing up its intercepted deletions to an online vault. This means photos Dumpster catches survive even a factory reset — something no other on-device method handles without a separate cloud backup service.
Method 5: Recover Photos Without a Computer Using iCloud on iPhone
iCloud gives iPhone users a powerful browser-based recovery path that requires nothing except internet access and your Apple ID credentials.
Open Safari on your iPhone and navigate to icloud.com. Sign in, tap Photos, and check the Recently Deleted album. This album holds photos for 30 days and operates independently from your iPhone’s local Recently Deleted folder.
Uncommon detail: iCloud.com sometimes displays photos that your iPhone’s Photos app already removed from its own Recently Deleted folder. The sync between device and server introduces a lag that occasionally works in your favor — the cloud holds items the phone already purged locally.
Furthermore, if someone else manages your Family Sharing group and uses iCloud+, the family organizer can sometimes access a broader recovery window through the iCloud storage management panel.
Method 6: WhatsApp, Telegram, and Messenger Media Folders
Every major messaging app stores received and sent media in its own dedicated folder on your phone’s storage. These folders survive independently of your camera roll and gallery app.
Therefore, photos you received or sent through messaging apps often remain accessible even after you deleted them from your gallery. Open your phone’s file manager app and navigate to these locations:
- WhatsApp: Internal Storage → WhatsApp → Media → WhatsApp Images
- Telegram: Internal Storage → Telegram → Telegram Images
- Instagram: Internal Storage → Pictures → Instagram
- Snapchat: Internal Storage → Android → data → com.snapchat.android → cache
Uncommon detail: Telegram’s “Saved Messages” feature functions as a personal cloud storage channel. Photos you forward to your own Saved Messages remain on Telegram’s servers indefinitely — accessible from any device, no backup required. Many users use this as an accidental long-term photo archive without realizing it.
Method 7: Amazon Photos and Other Forgotten Auto-Backup Services
Amazon Prime subscribers receive unlimited full-resolution photo storage through Amazon Photos. The app activates automatic backup silently during Prime setup — meaning your phone may have uploaded thousands of photos to Amazon without you consciously enabling it.
Open the Amazon Photos app or visit amazon.com/photos in your browser. Check the full library and the trash folder. Photos deleted from the app sit in trash for 30 days before permanent removal.
Uncommon detail: Amazon Photos backs up screenshots, downloads, and photos from third-party apps in addition to camera roll images, depending on your backup settings. Therefore, the Amazon Photos library sometimes contains images you never intentionally saved — screenshots of addresses, receipts, and notes you photographed and later deleted.
Entretanto, other forgotten auto-backup services include:
- Flickr — free accounts received 1TB of storage for years; many users have active backups they forgot about
- Dropbox Camera Upload — runs automatically when enabled during Dropbox setup
- OneDrive — Microsoft 365 subscribers get automatic photo backup that activates during Office app installation
- Carrier cloud services — Verizon Cloud and similar services back up photos silently
Method 8: Google Drive “Computers” Folder
Google Drive maintains a section called “Computers” that stores backups from devices running Google Backup and Sync. If any device on your Google account previously backed up photos to Drive, those images appear in this folder regardless of what happened to the original device.
Open Google Drive on your phone, tap the hamburger menu, and look for “Computers” in the left navigation. Contudo, this section only appears if at least one backup exists — it stays hidden otherwise, which explains why most users never discover it.
The On-Device Recovery Checklist
Work through this sequence entirely on your phone before concluding photos are unrecoverable:
- Check your native gallery app’s trash folder
- Check Google Photos trash at photos.google.com/trash
- Check iCloud.com trash in your phone’s browser (iPhone users)
- Open WhatsApp, Telegram, and Instagram media folders via file manager
- Check Amazon Photos library and trash
- Check Dropbox, OneDrive, and Flickr if any of those apps installed previously
- Check carrier cloud service if your carrier offers one
- Run DiskDigger basic scan on Android
- Check Google Drive “Computers” folder for device backups
When On-Device Methods Reach Their Limit
Recovering photos without a computer handles the majority of common deletion scenarios. Cloud sources, app media folders, and on-device scanning tools cover an impressive range of situations.
Still, some scenarios genuinely require desktop tools. Physical storage chip damage, post-factory-reset recovery on encrypted modern Android devices, and recovery from devices that no longer power on all exceed what on-device methods handle reliably.
Therefore, treat the methods above as your first complete line of attack — thorough, free, and entirely cable-free. Most people who follow this checklist find their photos long before reaching the point where a computer becomes necessary.
Furthermore, installing Dumpster after completing this process ensures future deletions never create the same panic again. The best recovery strategy combines reactive tools for current losses with proactive interception for everything going forward.